Clash of the Titans - TT Tai Chi vs. CM Stacker 830
by Joshua Buss on February 23, 2006 12:05 AM EST- Posted in
- Cases/Cooling/PSUs
Cooler Master Stacker 830 (cont’d)
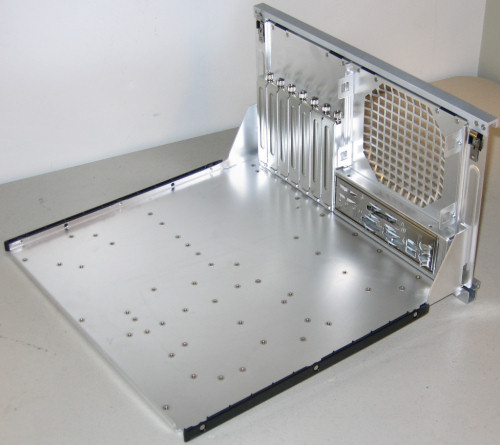
The last aspect of the 830 that needs to be addressed is its ability to morph into a BTX compatible system. In showing how this is possible, we'll also highlight some of the other fine details of this complex case. It all basically comes down to a very well designed motherboard tray. Notice how thumbscrews are used instead of problematic plastic clips to hold expansion cards down.
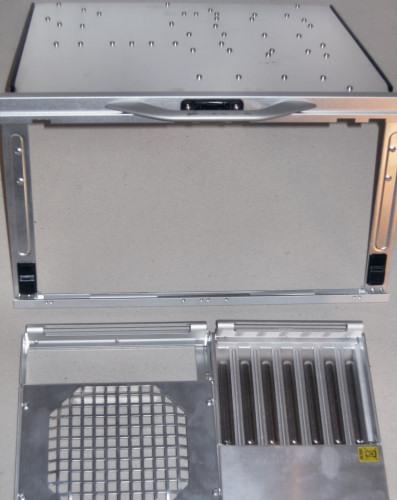
Since the main difference between ATX and BTX systems is the orientation of the expansion cards in relation to the I/O ports, those two components of the rear plate of the motherboard tray are separate, and can be put back into the tray reversed.
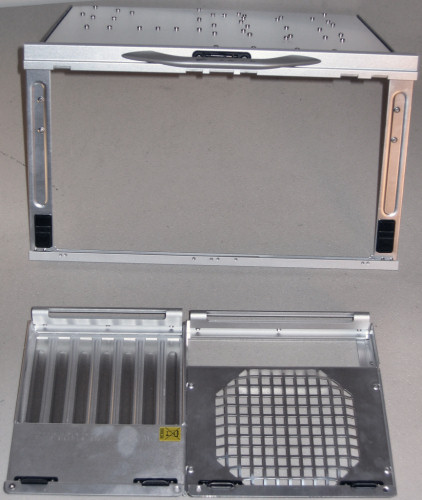
After removing a total of six screws, the two panes of the back hinged right off. Once off, they can be attached to each other in reverse – exactly how BTX motherboards are laid out.
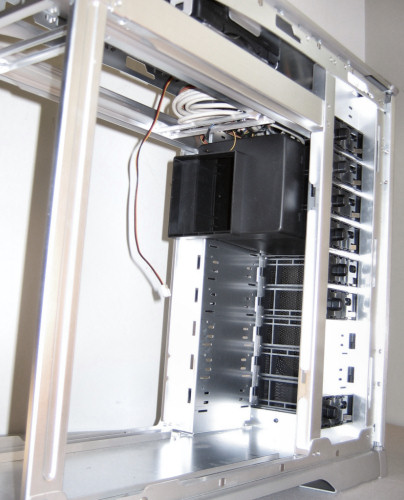
After assembling the motherboard tray in its reversed configuration, the tray is slid into the opposite set of rails in the case. Next comes the fan juggling.
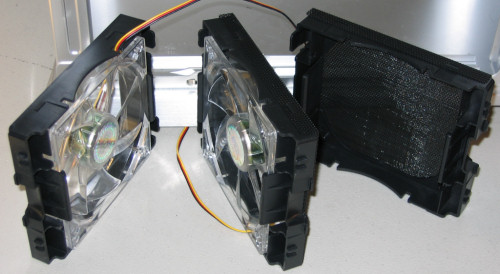
The fans, fan cages, and fan grills are all interchangeable on the Stacker 830. The unit on the far left is a fan in its cage, the unit in the center adds the grill, and the unit on the right is simply an empty cage with grill. Each of these are needed in various places, but generally, the unit on the far left goes at the rear or top of the case, the unit in the center goes at the front if one wants additional air to be brought in at the front, and the unit at the far right is a passive vent that fits in front of the BTX duct.
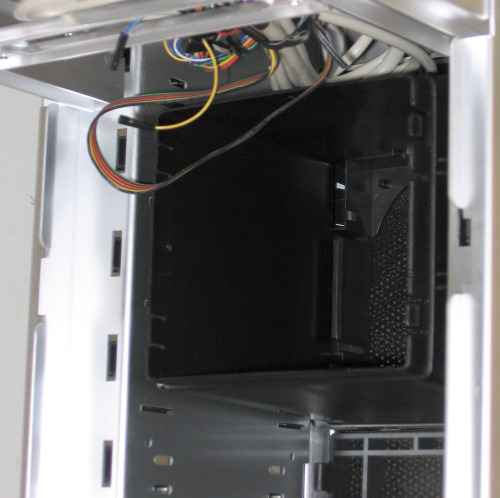
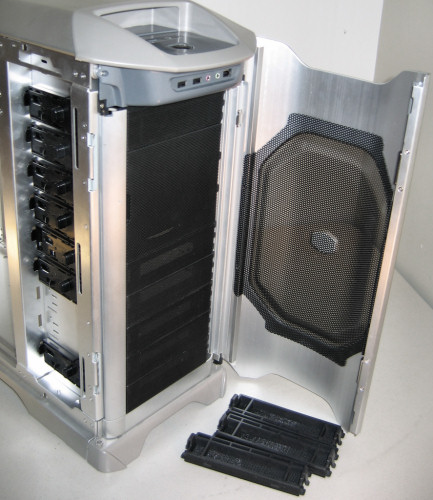
In this shot for instance, three of the standard bay place-holders have been removed in favor of the single cage and cover unit. In the bays themselves, one may install the BTX duct to direct air appropriately in terms of the BTX specification.
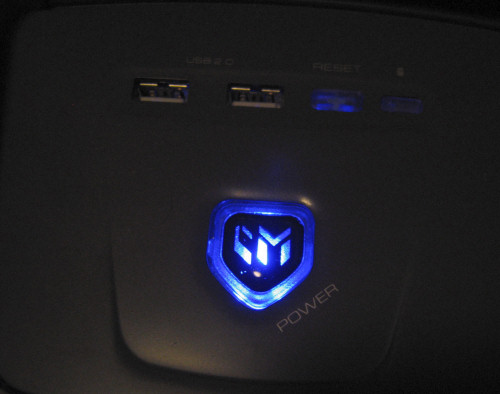
Lastly, here are a couple of shots of the lighting of the case. In a completely dark room, a well-loaded 830 can put on quite a show.
And the aforementioned power button:
The last aspect of the 830 that needs to be addressed is its ability to morph into a BTX compatible system. In showing how this is possible, we'll also highlight some of the other fine details of this complex case. It all basically comes down to a very well designed motherboard tray. Notice how thumbscrews are used instead of problematic plastic clips to hold expansion cards down.
Since the main difference between ATX and BTX systems is the orientation of the expansion cards in relation to the I/O ports, those two components of the rear plate of the motherboard tray are separate, and can be put back into the tray reversed.
After removing a total of six screws, the two panes of the back hinged right off. Once off, they can be attached to each other in reverse – exactly how BTX motherboards are laid out.
After assembling the motherboard tray in its reversed configuration, the tray is slid into the opposite set of rails in the case. Next comes the fan juggling.
The fans, fan cages, and fan grills are all interchangeable on the Stacker 830. The unit on the far left is a fan in its cage, the unit in the center adds the grill, and the unit on the right is simply an empty cage with grill. Each of these are needed in various places, but generally, the unit on the far left goes at the rear or top of the case, the unit in the center goes at the front if one wants additional air to be brought in at the front, and the unit at the far right is a passive vent that fits in front of the BTX duct.
In this shot for instance, three of the standard bay place-holders have been removed in favor of the single cage and cover unit. In the bays themselves, one may install the BTX duct to direct air appropriately in terms of the BTX specification.
Lastly, here are a couple of shots of the lighting of the case. In a completely dark room, a well-loaded 830 can put on quite a show.
And the aforementioned power button:




55 Comments
View All Comments
BubbaJudge - Thursday, February 23, 2006 - link
I was wafting between the Tai Chi and the Koolance PC3-725BK based on the Lian Li PC-V1000, it would have been great to include both watercooled versions for review, but great review regardless. I think I will go with the Koolance, as I agree the Tai Chi looks a little heat sink gimmicky. Hopefully I can stuff a PC P&C 850 in the Lian Li chassis.chynn - Thursday, March 2, 2006 - link
The PCP@C 850W might not fit in the Lian-Li V1000 case; however, it will definitely fit in the Lian-Li V1200 case. I have the latter Lian-Li case but will be replacing it with RC-830 Stacker case ... the RC-830 case is just that much better.mkruer - Thursday, February 23, 2006 - link
Call me old fashion but I like the simple designRip the Jacker - Thursday, February 23, 2006 - link
first.tuteja1986 - Thursday, February 23, 2006 - link
I am buying Cool Master Stacker now :) . its an awesome case and goes arround $200AUD in Australia. I am going to use 2 PSU 480W antec and 550W antec. Go full crossfire when i sell my Asus A8N SLI-32 and buy either a RD580 mobo from ABit or ASUS or DFI.